Jewelry DIY: Making Your Own Stylish Jewelry At Home
by Lorena Romo
If you’re looking for a fun hobby that will save you money, relieve stress, and help you discover and express your own unique style, jewelry making is a fabulous choice. Even if the idea of making your own jewelry is new to you, it’s easy to do with the right tools and accessories. From beautiful handmade necklaces and earrings to bracelets, rings, anklets, and more, creating your own DIY jewelry is an extremely fulfilling hobby. Read on to learn a few tips for jewelry making so that you can go from a casual, leisure hobbyist to a seasoned pro in no time.

The benefits of DIY jewelry
Although learning to make beautiful, trendy jewelry takes some skill and patience, there are plenty of wonderful benefits to this amazing hobby that make the learning curve well worth navigating.
Fun and recreational. Making jewelry at home is a fun way to spend your free time. You’ll enjoy learning new skills and discovering new techniques to help you create gorgeous pieces of jewelry that you can wear, sell, or give as gifts to family and friends.
Keeps you focused and relaxed. When you’re in the jewelry-making zone, or “flow,” as that super-engaged state of mind is officially called, you won’t have time to worry about the stresses of everyday life. This hobby is a fantastic way to help you relieve stress and feel more relaxed, and it lets you take breaks from “real life” and worrying about the things that are keeping you awake at night.
Find your unique style. Much like drawing or painting, designing and creating your own custom jewelry is a great way to help you discover your own personal style. Whether it’s funky and bold, glamorous, or classic, this hobby is a creative way to help you discover something new about yourself and what makes you tick.
You’ll save money. By making custom jewelry at home, you’ll save untold amounts of money on buying new accessories. Buying jewelry parts and tools is much less expensive than purchasing brand-new jewelry from a retailer. You won’t have to pay the markup that many jewelry sellers charge, and you can find many jewelry-making supplies in bulk for an even bigger discount.
Personalized gifts. There’s nothing quite as special as a handmade gift made by someone you love. Design your own personalized jewelry that you can give to friends and family members for birthdays, holidays, and other celebrations. It’s a wonderful gift that the recipients will treasure for years to come as they show off their custom jewelry made just for them, by you.
Easy to do anywhere. Making jewelry doesn’t require a lot of space, which means you enjoy taking part in this hobby virtually anywhere. All you need is a small area to work and a portable storage solution to store and organize your jewelry-making goods.
Take pride in your work. When you wear a piece of jewelry that you made yourself, you’ll be able to proudly announce that it’s something you created on your own. Wearing something that you made is a great way to show off your skills and to show pride in your hard work, and there’s nothing like a complete stranger coming up to you and asking where on earth you got that spectacular necklace.

What you need to get started
Now that you know about all of the amazing benefits of making your own jewelry, here’s what you’ll need to get started on your newfound hobby.
The right workspace. Decide where you want to set up your jewelry-making station. You’ll need a quiet place with ample light and a sturdy work surface, such as a desk or table. Ideally, you should have a separate part of the home where you can work on your craft so that you don’t need to tidy up and put everything away every single time you call it a day. If you don’t have a separate room, just find a comfortable corner or nook where you can set up a table, chair, and light. Make sure you choose a supportive chair so you can work as long as you want comfortably.
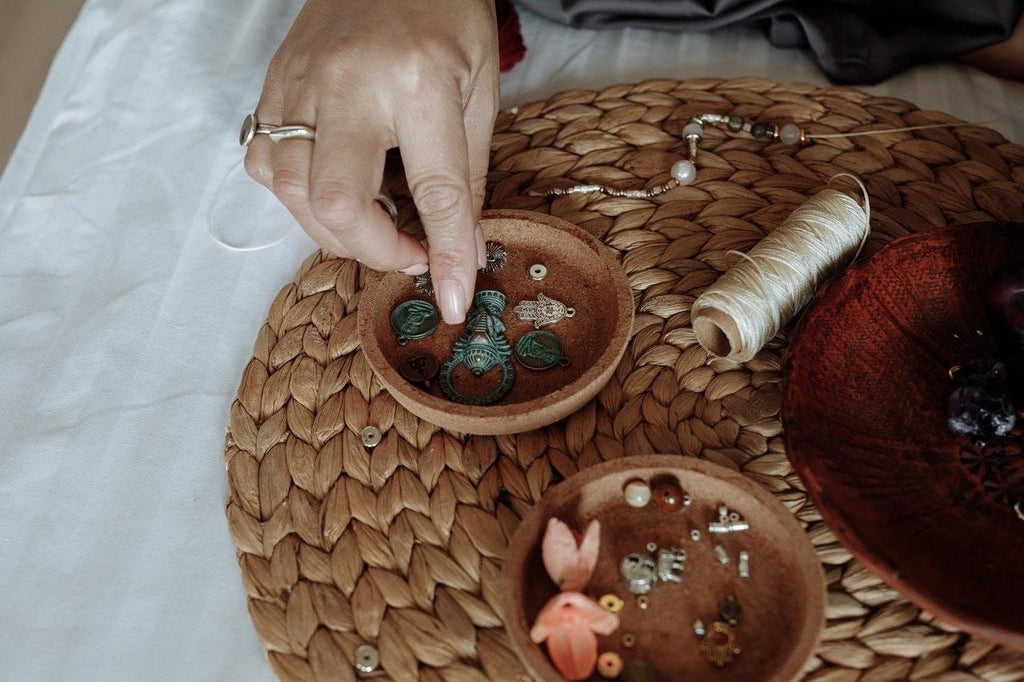
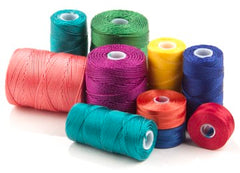
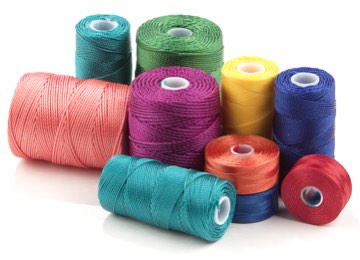
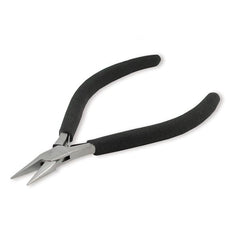
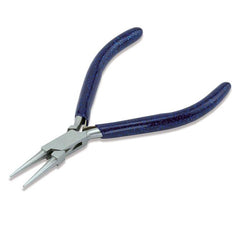
Gather your essentials. To make your own jewelry, you’ll need some basic materials and tools. Start with some foundational items like string, wire, beads, and stones to create your custom jewelry. You’ll also need a wire cutter, a good pair of scissors, pliers, and a crimping tool. If you’re making rings, you’ll need a mandrel. Depending on the kind of jewelry you’re making, you may also need a soldering iron. Of course, you’ll need jewelry findings, which are the raw pieces, like clasps, jump-rings, earrings, pins for brooches, ring bases, and other foundational items that you’ll make the jewelry from. Once you have your tools and materials, keep them organized by placing everything in separate bins or boxes with a label. It’s much easier and a lot more fun if you can easily grab what you need within reach.
Get inspired. If you need some ideas and inspiration, turn to jewelry bloggers, Pinterest, or watch a few tutorial videos to help you learn the ropes. A virtual jewelry-making class is a great way to start out, or you can turn to some fellow jewelry-making friends for ideas and advice.
Types of jewelry you can create
Here are some examples of the types of jewelry you can make, and what you’ll need for each:
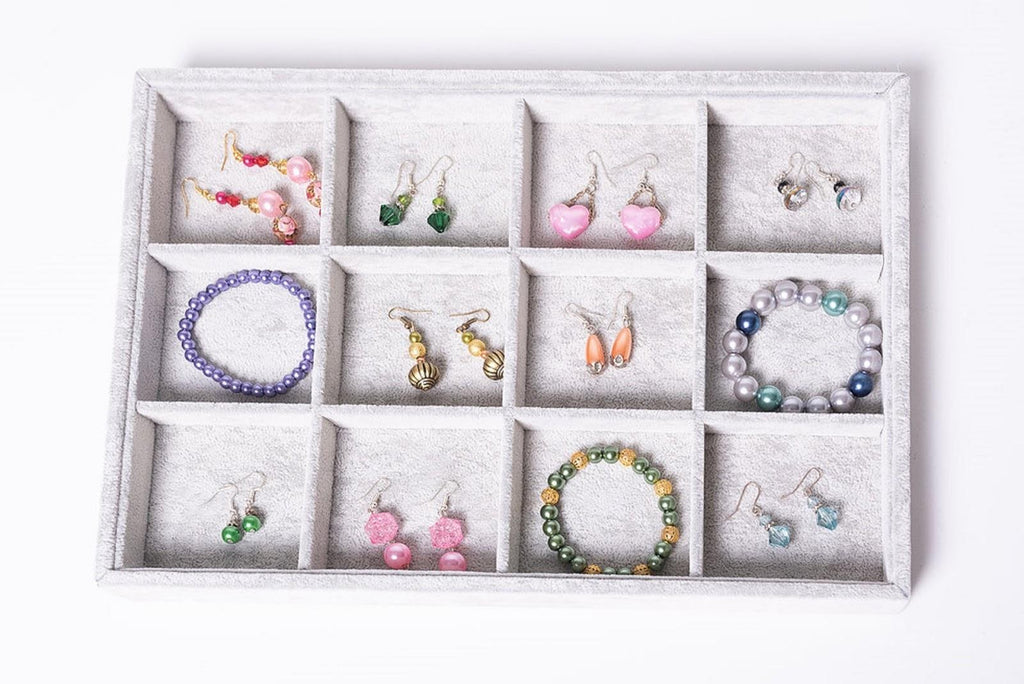
Necklaces. Most DIY necklaces are made using string, wire, or chain. Add your own touch by creating a beaded necklace or make a custom charm to hang from the end. Jewelry findings Wire cutters, clasps, crimping tools, and pliers are also recommended.
Earrings. Gather some hooks, clips, and studs to make different types of earrings. Embellish your DIY earrings with beads, stones, or make a few simple pairs with metal or wire to start out.
Bracelets. You can learn how to make friendship bracelets with colorful string for a fun and easy jewelry project. For fancier jewelry, try a beaded bracelet or a wire bracelet accented with a few cute charms.
Rings. Making DIY rings can range from easy to complex, depending on the materials you choose. Start with a simple wire ring embellished with a stone, and you can eventually work your way up to metalsmithing after you feel confident in your jewelry-making skills.
Other jewelry. You’re not just limited to designing rings, earrings, or necklaces. Try your hand at other custom pieces, like a hand-stamped metal charm or a jewelry item made entirely of found objects. Custom embellished hair clips are another fun alternative.
How to keep everything organized
You’ll enjoy making custom jewelry much more if your work space and growing collection of pieces are neat and tidy. Here are some ways you can keep all of your materials and tools organized for easy access.
By type. Arrange your jewelry components and tools by type—place all of your necklace, earring, ring, and bracelet-making items in separate containers so you know where everything is to make specific pieces.
By color. If you’re making jewelry with lots of beads or colorful components, organize everything by color so you can make the perfect jewelry based on color scheme and tone. Get a plastic bead container with lots of different compartments to store your beads and other items by color.
By stones. Separate your jewelry materials by stone type. For example, keep rhinestones, beads, and natural stones separated so you can easily access your material of choice.
By occasion. Maybe you like to design both fashion jewelry and formal jewelry, but it depends on the occasion. You can keep casual-style jewelry accessories, like string, inexpensive wire, and plastic or glass beads in one area, and more formal or high-end components, like silver and gold wire and precious gems in another so they don’t get mixed up.
Jewelry organizing solutions
Having an organized space will make designing your custom jewelry much easier. Here are some ways to organize your jewelry-making tools, accessories, and completed pieces.
Bins. Place everything in clear plastic bins with a lid to keep everything secure. Separate the items inside of the bins by type and label each with the contents so you can easily grab what you need without having to rifle through drawers and loose containers.
Stands. A beautiful jewelry stand is a great way to display your finished pieces. Use the stand for photographing jewelry you plan to sell, or simply enjoy them in your bedroom for a beautiful display.
Drawers. If you prefer to keep your accessories and tools in drawers, add a handy drawer organizer. These compartments will keep everything nicely separated so that small items don’t get lost in the shuffle.
Special jewelry boxes. Organize your finished jewelry in beautiful boxes made for specific types of jewelry. You’ll find a range of jewelry organizers dedicated to keeping specific types of jewelry in place or those that have separate compartments to help you keep different styles of jewelry together in one location.

How to Keep Your Jewelry Clean
Once you make your jewelry, it’s important to keep it clean and shiny so it’s beautiful for years to come.
Special cleaners. Look for jewelry cleaners made for specific materials, like silver or certain types of stone. These special cleaners are made to be gentle on certain surfaces while cleaning and protecting your hard work.
Homemade cleaners. You can make your own DIY jewelry cleaner with a few simple ingredients. Try a mixture of dish soap and warm water to keep silver sparkling clean. Mix the dish soap with sparkling water to get gemstones and semi-precious stones bright and clean. A paste made of baking soda and water does an excellent job of gently removing excess tarnish.
Store your jewelry properly. To protect your jewelry, keep it stored in a cool, dry place away from excess humidity. Separate your jewelry by metal type, and always make sure that pieces aren’t touching each other. Fine jewelry should be kept out of direct sunlight, but fashion jewelry can be hung from hooks on a wall or stored in special compartmentalized boxes.

Involve Your Family
Learning how to make your own jewelry is fun, but it’s even more exciting when the whole family gets involved.
Activities with the kids. Arrange a fun jewelry-making session with the kids, and show them how to make their own friendship bracelets, clay bead necklaces, and more. Gather some simple materials together, and let the kids have a ball as they learn how to make jewelry they can show off to their friends.
Activities with friends or as a couple. Schedule a couple’s night where you and your partner can make a matching set of jewelry. This is also a fun activity you can do together with some friends. Have a double-date night of creative jewelry making, complete with some adult beverages and great tunes.
You don’t have to be a master jeweler to enjoy the process of making your own beautiful, stylish jewelry. With the right tools, a good comfortable workspace, and some fun accents like colorful beads and stones, you’ll be able to make your very own custom jewelry in no time. This fun hobby is a great way to relax and relieve stress while creating something truly unique, so you can show off your personal style—and maybe even find a new career.
Originally posted in Porch.com
]]>

 Introduction:


 3. Lead-free Pewter Beads and Findings - Safe and affordable


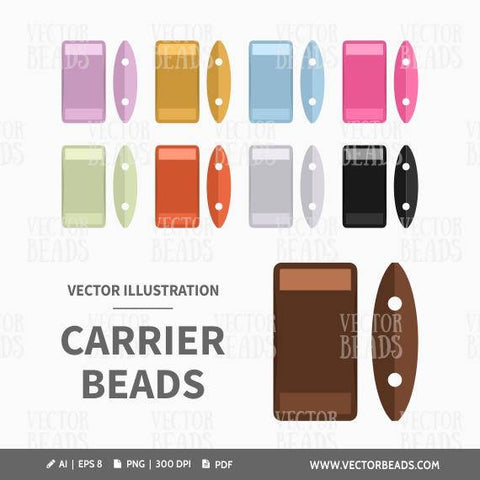
 Use this handy bead chart to find out how many duo beads you can expect to receive in each
 Use this handy bead chart to find out how many duo beads you can expect to receive in each 25 gram bag! Now when you buy Matubo Superduos, Miniduos, Gemduos and Paisleyduos, you'll know the quantity you can expect to get.
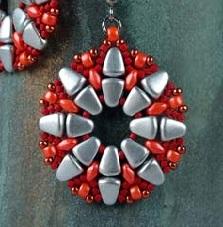
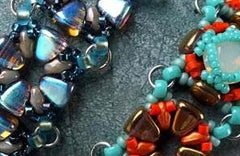
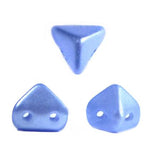
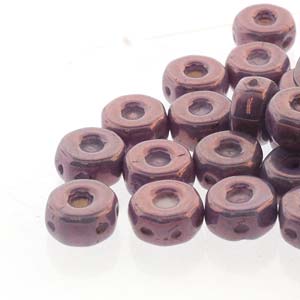
 Two-hole beads have been around for a while and come in a wide variety of shapes and sizes. Their unique structure and versatility make them especially ideal for multiple forms of beadwork. Add to this the beautiful array of colors and lovely textures and you can totally understand how the enthusiasm surrounding two-hole beads is practically a frenzy. Beading with two-hole beads is certainly no fleeting trend.
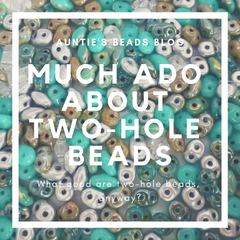
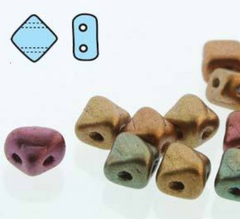
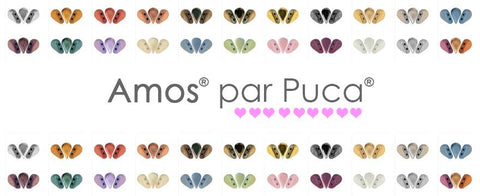
 As you might imagine, there are also many different types of two-hole beads. Twin beads are popular for their compatibility with a more free-form style of beading and their typically more affordable price point. Matubo's line of duo beads - from
 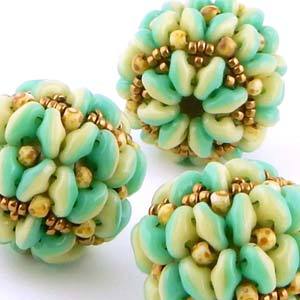 The
The 

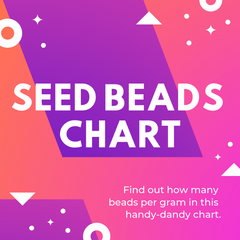 One of the most common questions we get here at Auntie's Beads Direct is just how many beads am I getting in a seed beads package? Well, now that's super easy to find out because we've created this colorfully helpful bar graph!

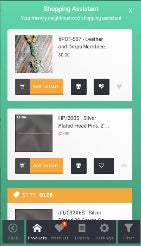
 Shopper Assistant populates your Wish List and allows you to shop directly off your list of favorites, view items that have had a price drop, get notified as soon as an item you want is back in stock, browse trending products and a lot more. You can even view your order history, read the newest reviews and share all the beads you're excited about with your friends.
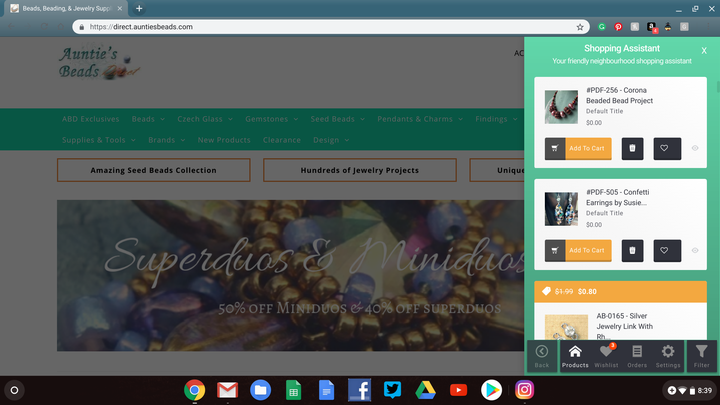
 If, on the other hand, you haven't noticed it yet or were frightened off by apprehensive fears of some nefarious Interweb goblin snatching up your browsing history, or worse, slapping your screen with an eerie pop-up ad for a product you had just spoken with a friend about the previous night ("Alexa, stop listening in on my conversations!), worry not! You, too, can bravely and safely open our newest helpful web toy and enjoy all of its myriad features. Just click that beautiful little heart at the bottom right of your screen and let the magic begin!
 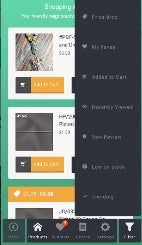 Which brings us to Pro Tip #2. The more you shop, the smarter Shopping Assistant gets. The smarter it gets, the more it's going to improve your shopping experience at Auntie's Beads Direct! Don't be afraid to tell it what you like. We're not going to share any of that information and neither is our new friend Shopping Assistant. He's just here to help. And no need to worry about any long-term commitments, either. Liking something by clicking on the heart icon only means you might want to come back and look at it again, not take it home with you on the first click. And if you do get to the point where you feel that no amount of counseling is going to rescue the relationship, you can always break-up, turning off poor Shopping Assistant entirely. You don't even have to have one of those awkward face-to-face splits, either. It's just one click from the convenient Settings tab and he'll never even know why you left.
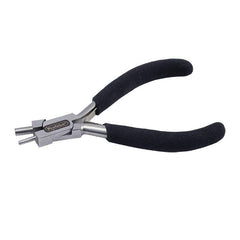
 Every beader has their favorite tool. They serve purposes from the mundane (
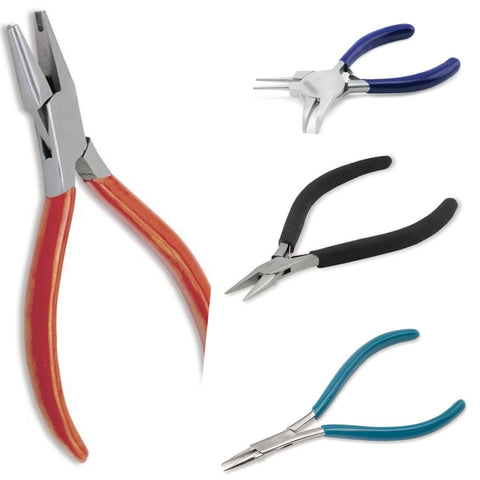

 This week's new arrival at ABD is huge and it's one we are particularly excited about. If you're not already beading with them, these tiny diamond-shaped treasures are called Silky Beads and they are a great way to lend your designs a unique look.
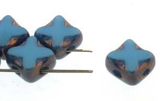
 Our final new product spotlight for this very busy week is the versatile Octo Bead! Octo beads feature three holes which run parallel through them. As far as their measurements go, these beads are 8mm across and 4mm deep. With a slight indentation in the center on just one side, the octos can be optionally affixed with a flat back. As you probably already surmised from the name, Octo beads do, in fact, have eight sides!

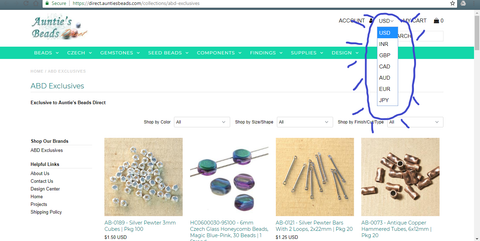 We know that just because we happen to be shopping for beads using the good ol' American dollar, that doesn't necessarily mean that's how you always shop. So now you can choose to see prices in Canadian dollars, Euros, the British Pound or any of several other worldwide currencies! Simply click the little drop-down menu at the top right corner of the screen beside the link for your Account and choose the currency view you'd like to switch over to. Try it out with your preferred currency today!


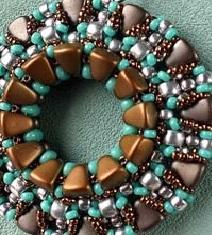
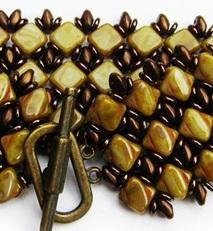
 There are two similar projects I came across that I absolutely adore.